Many family photo collections include a stack of stiff, decorated cards with a portrait glued to the front and a photographer's name printed underneath or on the back. These are cabinet cards, and they were the standard studio portrait of the late nineteenth century. The people in them are often unnamed, which makes dating the card one of the most useful first steps in working out who they are. This guide walks through the physical clues researchers use, and the limits of each one.
What is a cabinet card?
A cabinet card is a photographic print, usually an albumen print, mounted on a sheet of card stock. The mount measures roughly 4¼ x 6½ inches (about 108 x 165 mm). That made it much larger than the earlier carte de visite, whose card mount is about 2½ x 4 inches. The larger size made the portrait visible from across a room, which is probably how the format got its name: it could be displayed on a cabinet or parlor table.
The format was used for views before it was adopted for portraits. In the United States, Mathew Brady began offering it around late 1865 under the trademark "Imperial Carte-de-Visite." Cabinet cards overtook the carte de visite in the late 1860s and 1870s, peaked in the 1880s, and declined in the 1890s as snapshot photography became common. The Kodak Box Brownie, introduced in 1900, accelerated that decline. Production continued into the 1920s.
That gives you an outer window before you look at any detail: the format runs from the mid-1860s into the early twentieth century, with its peak in the 1880s.
Step 1: Look at the card stock and its color
The mount itself changed with fashion, and those changes are the backbone of most dating guides.
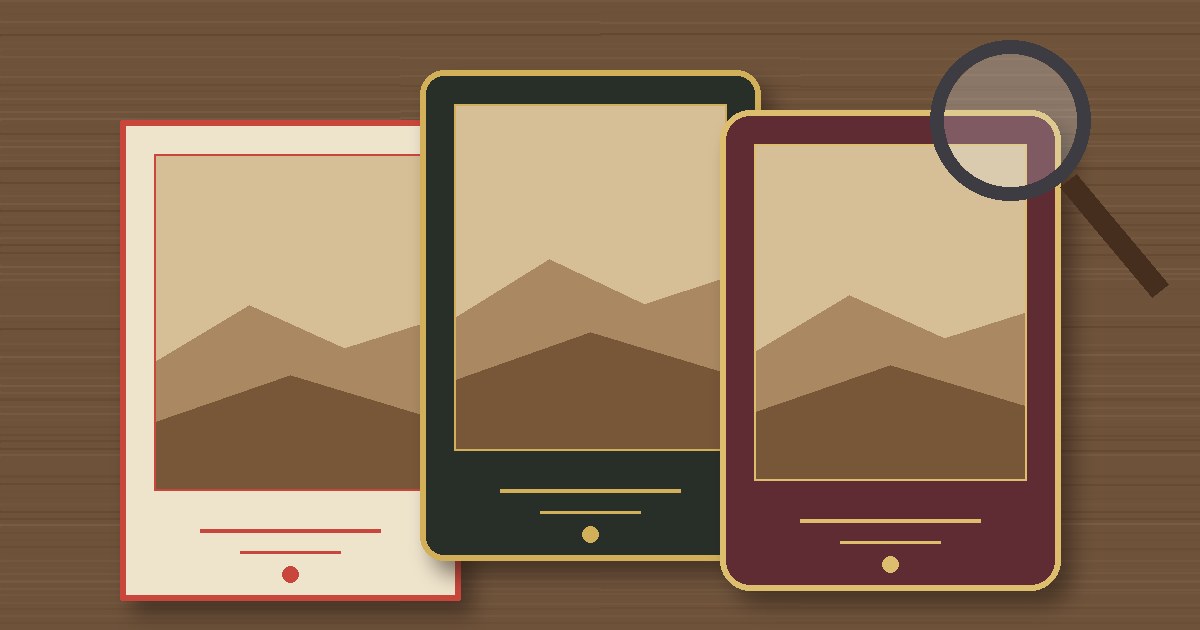
- Thin, light mounts (white, off-white or cream) with square corners are more typical of earlier cards, broadly from the late 1860s through the 1870s.
- Heavier stock and darker or contrasting colors became common in the 1880s and 1890s.
- Beveled edges, gilt or silver finishes, rounded corners, and embossed lettering are later clues, especially from the 1880s into the 1890s.
Step 2: Check the corners, edges and borders
- Square corners are more common on earlier cards; rounded corners appear later.
- Red or gold rule lines around the image can be earlier clues, but they are not reliable on their own.
- Gold beveled edges, rounded or scalloped edges, and embossed borders or lettering are later features associated broadly with the 1880s and 1890s.
Step 3: Read the photographer's imprint
The studio name and address are often the single most useful clue on the card.
- Style of the lettering. On earlier cards (roughly 1866 to 1879) the imprint tends to be small and plain, set under the image or in a small block on the back. From the 1880s it becomes larger and more ornate, often in script, and the studio's design can fill the whole back. Embossed studio names are associated with the 1890s.
- The name and address themselves. A studio rarely stayed at the same address for its whole life. City directories, which were published at intervals and list residents and businesses by name and often by address, let you check which years a photographer was listed at the address printed on the card. The Library of Congress holds a large collection of U.S. city directories on microfilm, covering more than 1,200 cities, towns and counties, mostly from 1861 to 1960. Many local libraries and historical societies hold directories for their own area as well. The overlap between the years the studio worked at that address and the mount style is often a narrow window.
Step 4: Look at the image tone
Most early cabinet cards are albumen prints, which are typically sepia-toned. Later cards used matte collodion or gelatin papers; gelatin papers appeared in the 1870s and became common in the 1880s and 1890s. A print that is not sepia-toned may therefore come from the later part of the period, though tone alone is a weak clue.
Step 5: Use the people in the photo, carefully
Clothing, hairstyles and the props in the studio can support a date, and family knowledge can narrow it further: if you know roughly when a relative was born, the apparent age of the sitter becomes a clue. Treat these as supporting evidence, not proof. Fashions moved at different speeds in cities and the countryside, and people wore good clothes for many years.
Why every date is an estimate
Mount features are only a rough indicator of date, and individual clues are not always reliable. Some reasons:
- Photographers used up old stock. Photographers used old mounts until their stocks were exhausted, so a card can look older than the photograph on it.
- Images were reprinted. Popular or important portraits were sometimes printed again years later on newer mounts.
- Handwritten notes can mislead. Pencil notes on the back were often added much later by someone with second-hand knowledge. Printed information is more reliable, but should still be checked against other sources.
The most confident dates come from combining clues: a mount style, a studio address and a sitter's known age that all point to the same few years.
Preserve the card while you research it
Handle cabinet cards by the edges, keep them out of direct light, and store them in individual acid-free sleeves or folders in a cool, dry room rather than an attic or basement. Before you write anything down, scan both the front and the back: the back often carries the most useful dating clue. The Library of Congress says photographs you intend to enlarge to 8 x 10 inches or greater can be scanned at 400 or 600 dpi, and advises keeping at least two copies of your scans in different locations. Record your dating notes and their sources in the file name or an accompanying note, so the next family member does not have to start over.
Sources
- Wikipedia, "Cabinet card": https://en.wikipedia.org/wiki/Cabinet_card
- Wikipedia, "Carte de visite": https://en.wikipedia.org/wiki/Carte_de_visite
- Vintagephoto.com, "Dating Card Mounted Photographs": https://vintagephoto.com/reference/dating.html
- Library of Congress Labs, "Directory Holdings Data Package" (U.S. city directories): https://data.labs.loc.gov/directories/
- Library of Congress, "Scanning Your Personal Collections" (Personal Digital Archiving series): https://www.digitalpreservation.gov/personalarchiving/documents/scanning_collections.pdf